YOROI – sende und erhalte ADA
In the previous chapters we created a YOROI wallet and looked at how we can recover our wallet. Below we will take a look at the functions of the wallet, how ADAs are sent and received.
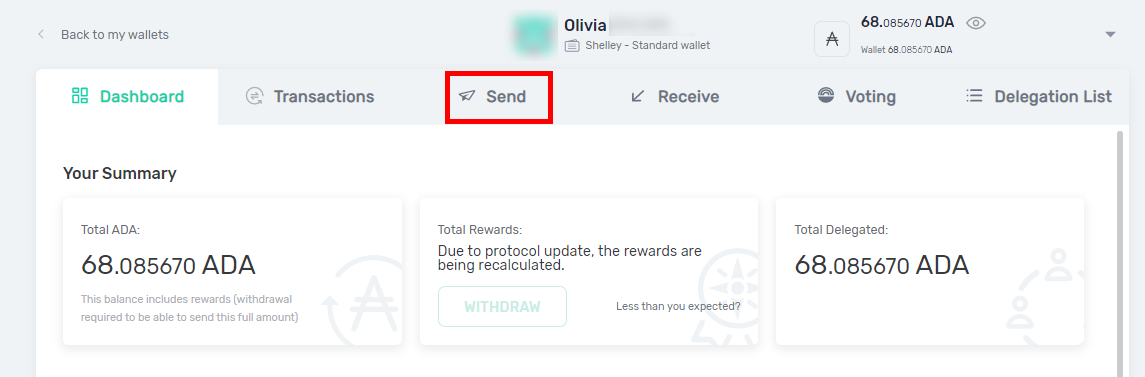
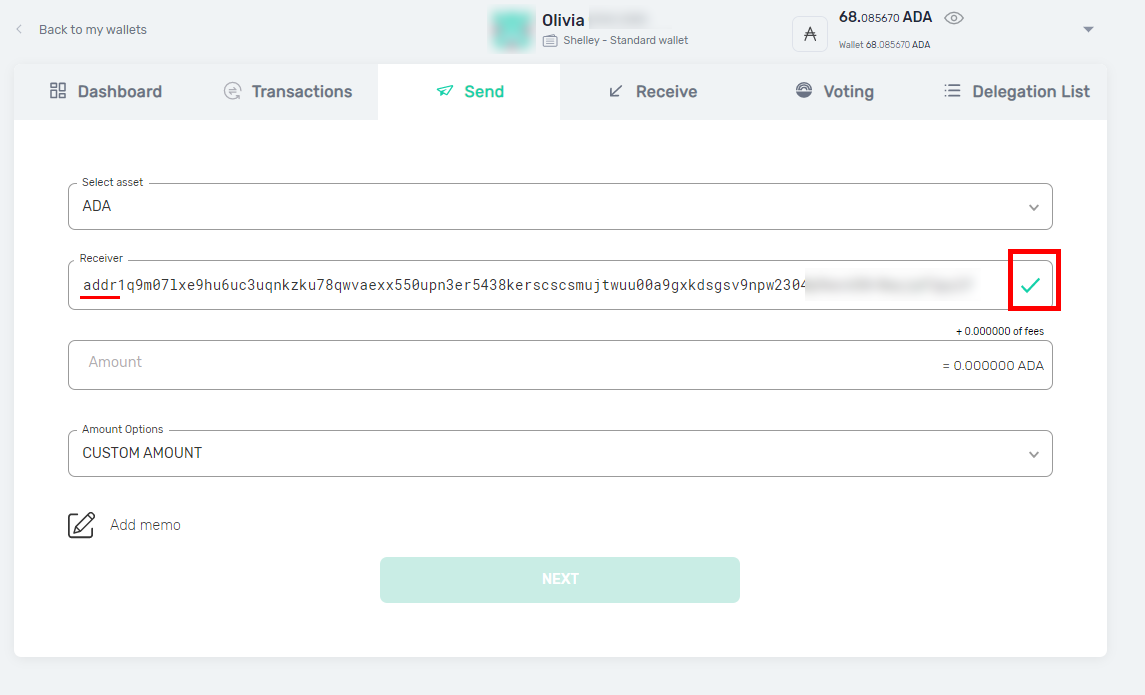
1.1. Send – Select “Send”
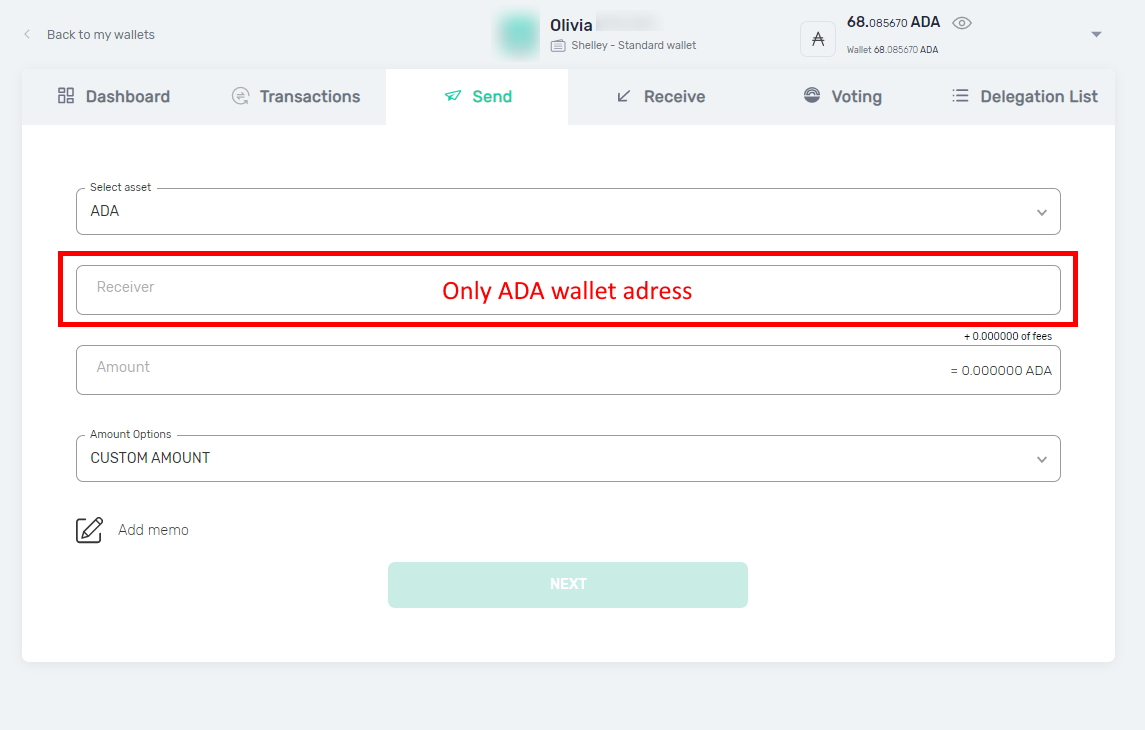
1.2. Send – Type in Receiver Address
Add a recipient address under “Receiver” to which you want to transfer ADAs.
Please make sure that the address you have given or selected also belongs to an ADA wallet. For example, it is not possible to transfer ADAs to other crypto wallets such as BTC or ETC. A valid ADA address always starts with the following letters: “addr…”
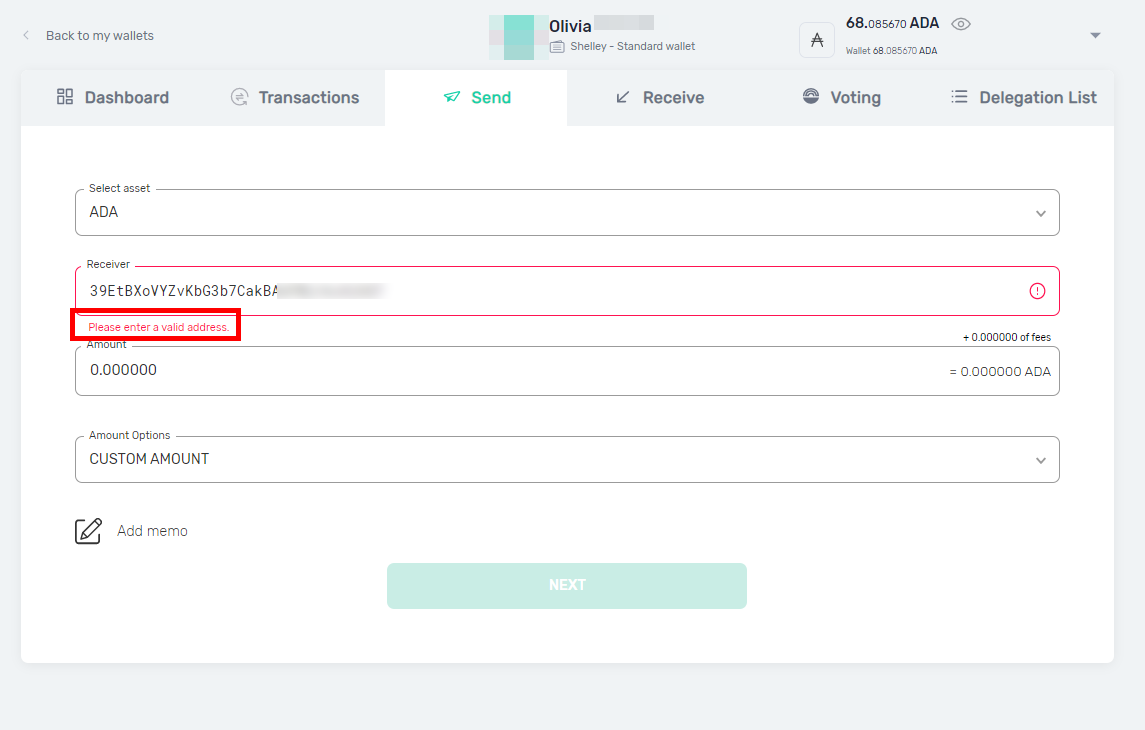
1.3. Send – Add Receiver Address – Case of an Invalid Address
In this example, a BTC address has been added. YOROI recognizes that this is not an ADA address.
1.4. Send – Add Receiver-Address
YOROI usually checks whether the address is a valid ADA address. This is indicated by a green check mark at the end of the “Receiver” line. Nevertheless, check the address carefully, once a sum has been transferred it cannot be retrieved. in case of an erro your ADAs are gone.
Check the receiver address carefully!
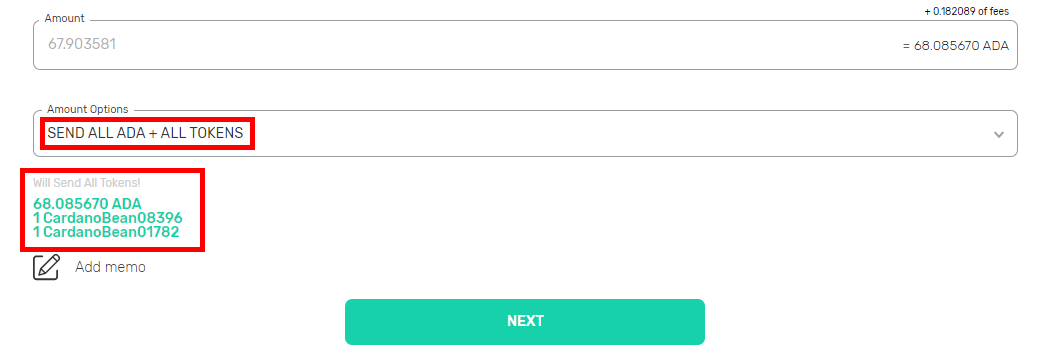
1.5. Send – Amount and Fees
Under “Amount” you enter the amount you want to send. In the example below we want to send 3 ADA. It is also possible to send fractional ADA like e.g. 2.45356 ADA.
There are fees for a transaction on the Cardano Blockchain. The fees are calculated automatically once you enter the desired ADA amount. In our example, the fees are 0.176545 ADA and are listed together with the desired amount at the end of the line: 3.176545 ADA.
The fees are variable and are recalculated by a formula for each transaction. The amount of the fees depends on the size of the transactions. However, even with higher sums, the fees to be paid are still low, especially in comparison with Ether.
If we want to send e.g. 62 ADA the fees are still only 0.176545. Even with an amount of 12000 ADA the fees are still below 1 ADA and are only 0.208093 ADA.
Please note that “Amount Options” is set to “Custom Amount”, only then you can enter your desired amount. Another option under Amount Options is “Send all ADA + All Tokens”. With this option you send all your ADA from the wallet as well as tokens you own. If you select “Send all …” the amount will automatically be filled with the maximum ADA.
Note: You can never send more ADA (including fees) than you own.


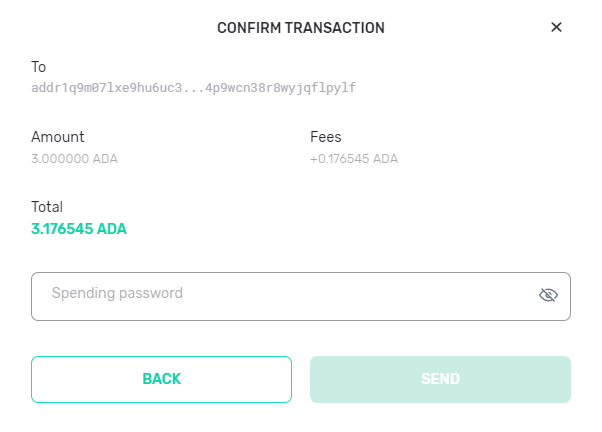
1.6. Send – Confirm Transaction
After all necessary data has been entered, the ADA can be sent, click on “next”. In the next step the transaction has to be confirmed.
All data will be summarized here, like the receiver address, the amount you want to send, the fees and the total amount of sent ADA and fees.
To send the transaction, you need to confirm it with your Spending Password.
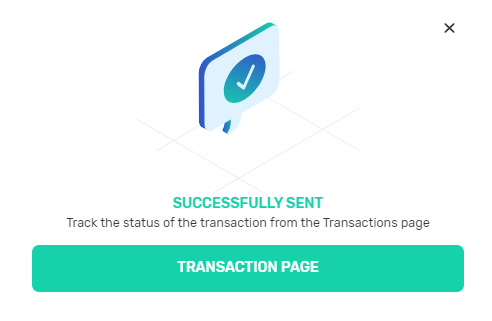
Finally, you will receive a final message that your transaction was successfully sent!
The sent ADA amount will usually arrive in the specified wallet only a few moments later.
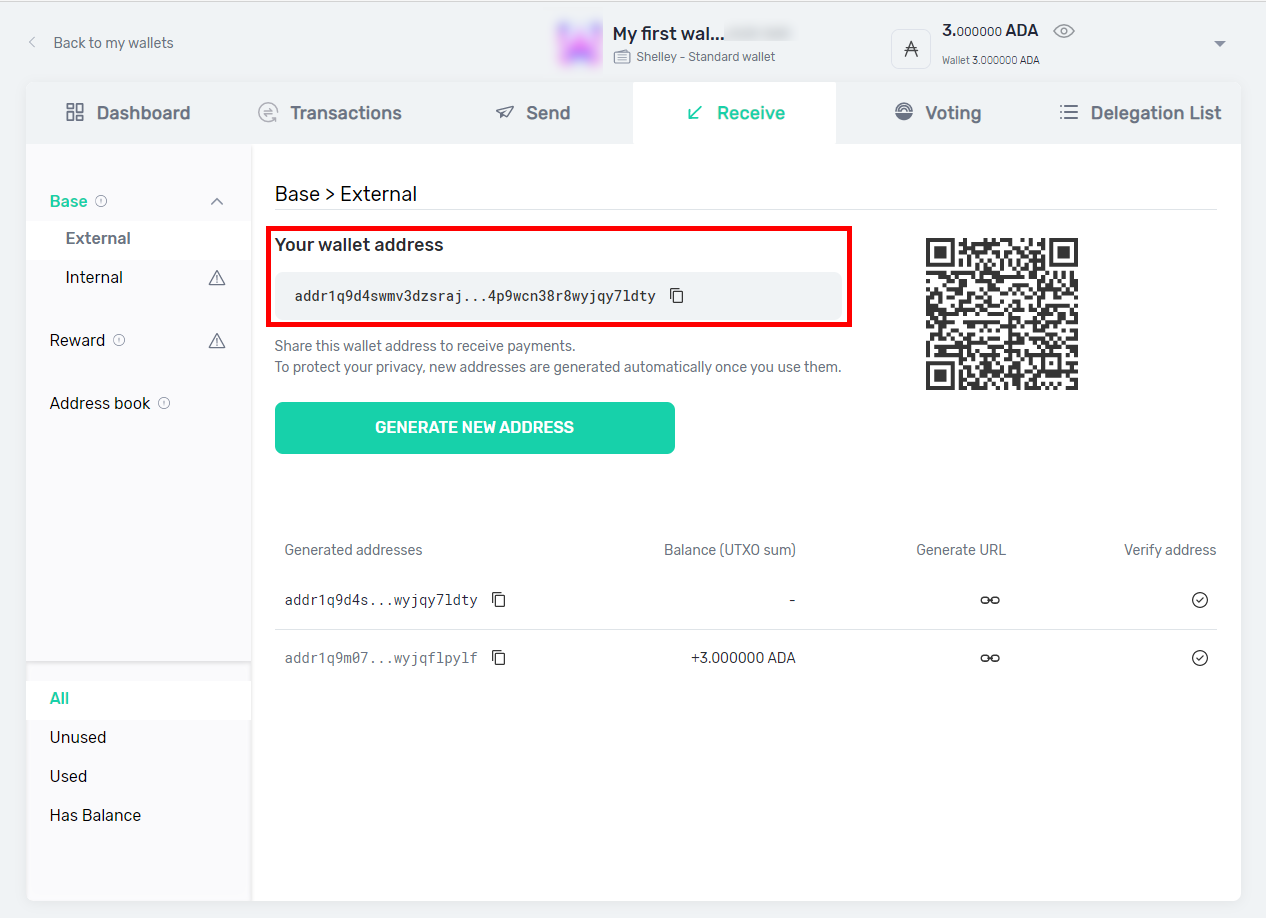
2.1 Receive – Get ADA
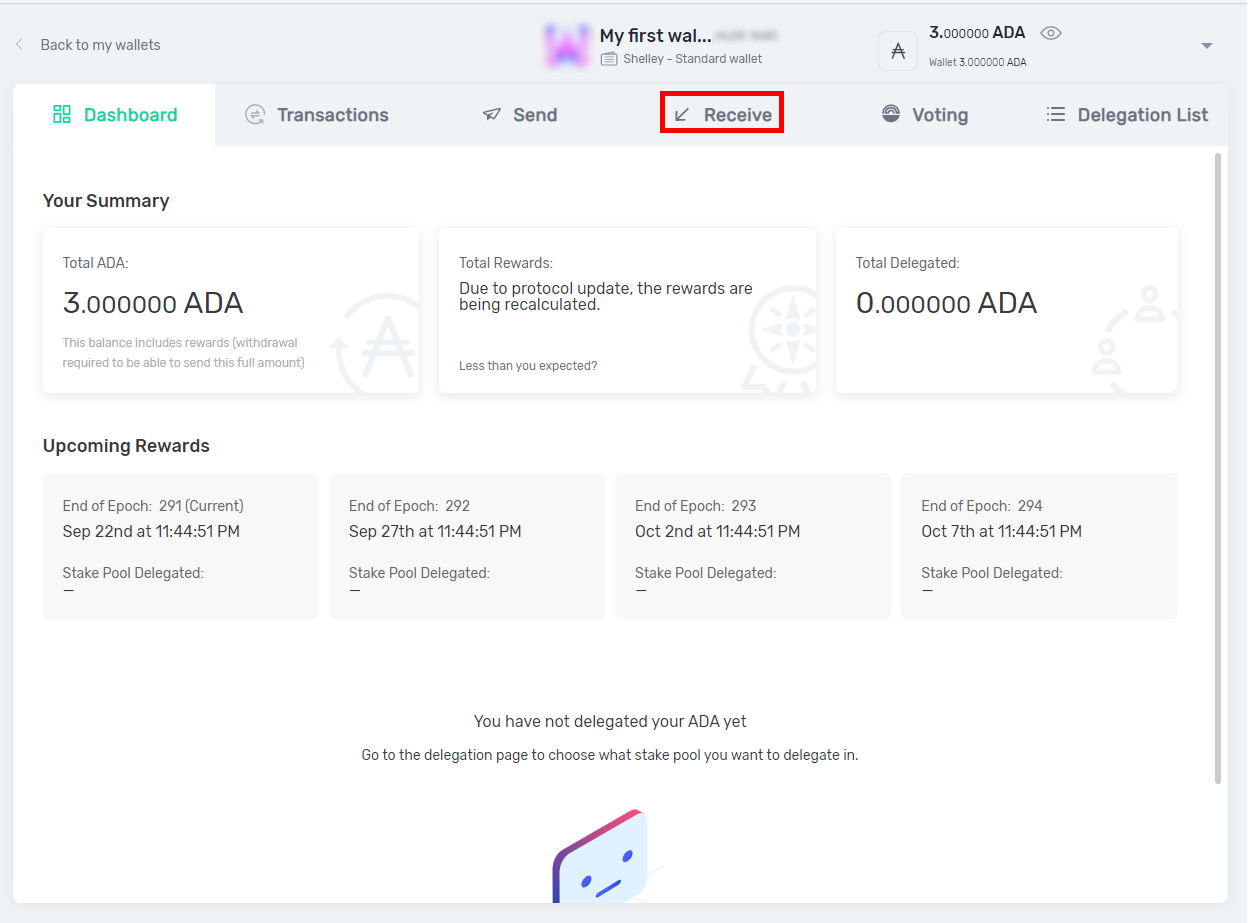
To receive ADA you need a Receive address. To do this, go to “Receive” in your YOROI Wallet.
2.2. Receive – Wallet Receive Address
On the Receive page, you will immediately find the first wallet address that was automatically generated by YOROI. It is marked with “Your wallet address” and can be easily copied by pressing the button. Send the receive address to the person who wants to send you ADA. If you use YOROI e.g. on your cell phone and the person who wants to send you ADA is near you, the person can also scan the QR code.
As soon as an address has been used once or you have received ADA on it, YOROI generates a new ADA address at this point. In principle, you can also use an address more than once. If you use an address only once, you will have a better overview of the individual amounts received.